ㅤㅤㅤㅤ⬑ Star This Project On Github To Show Support!
Metallic BSDF+
Overview
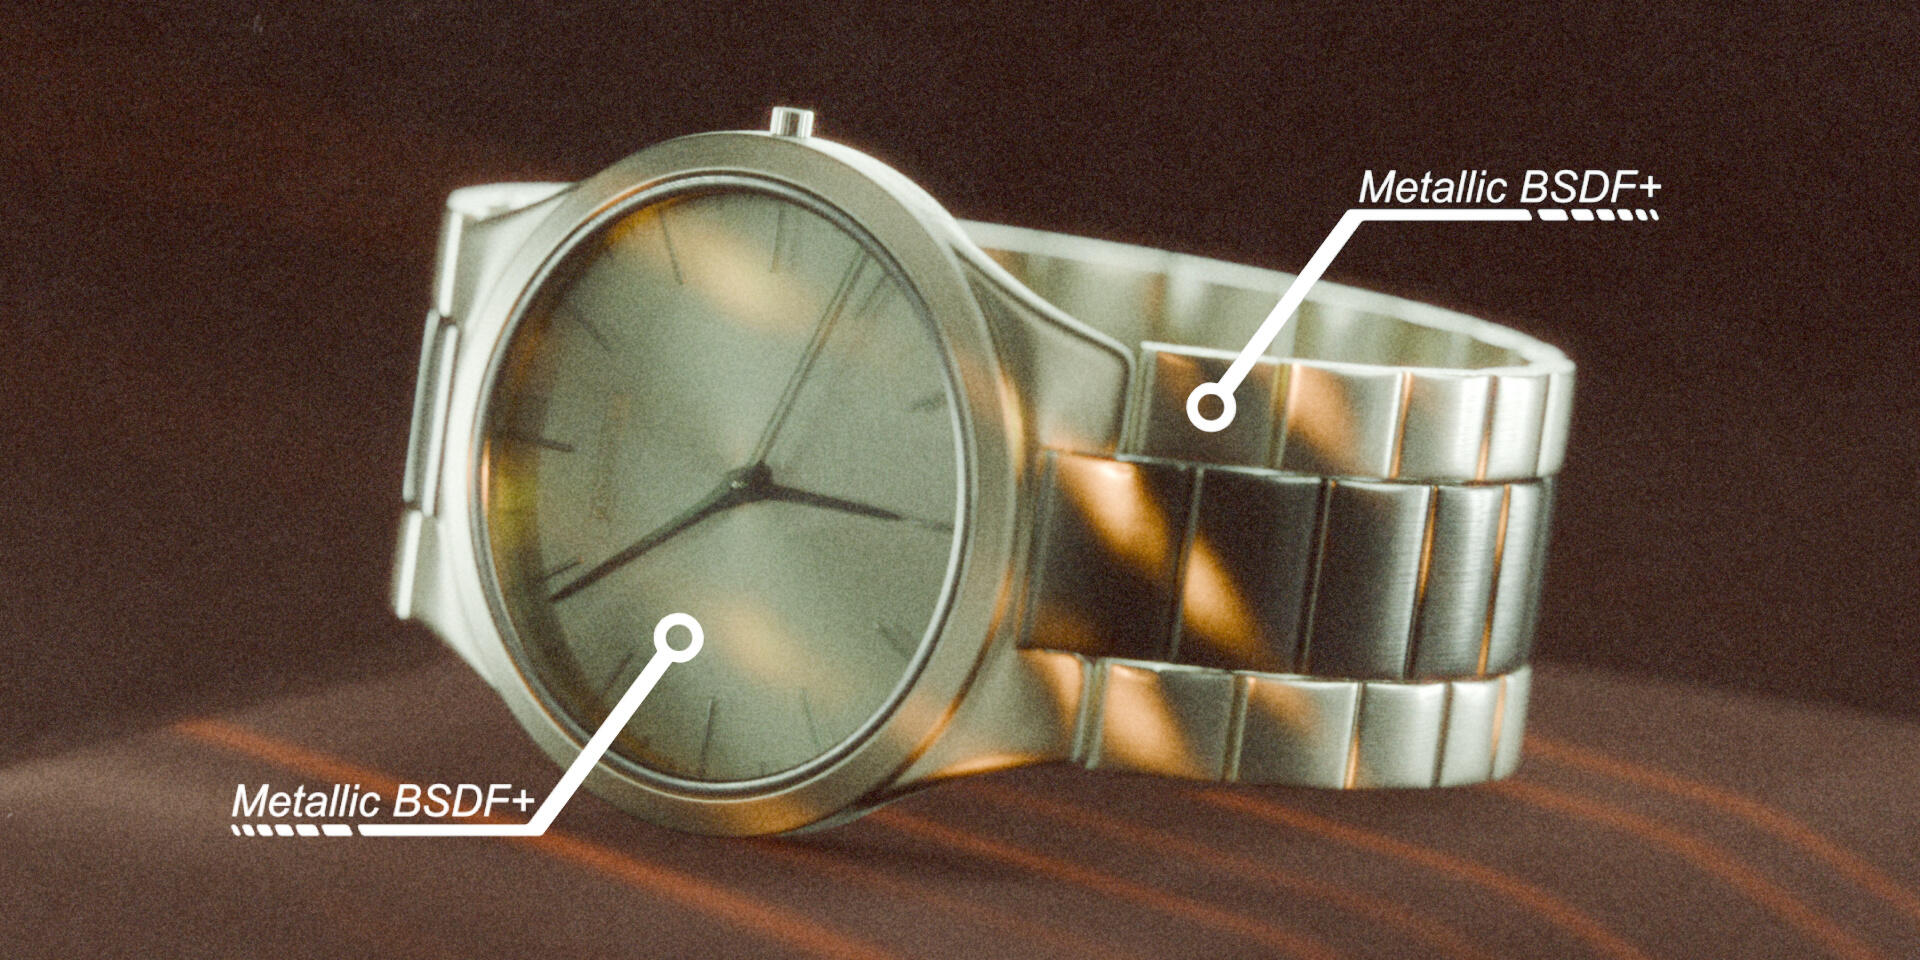
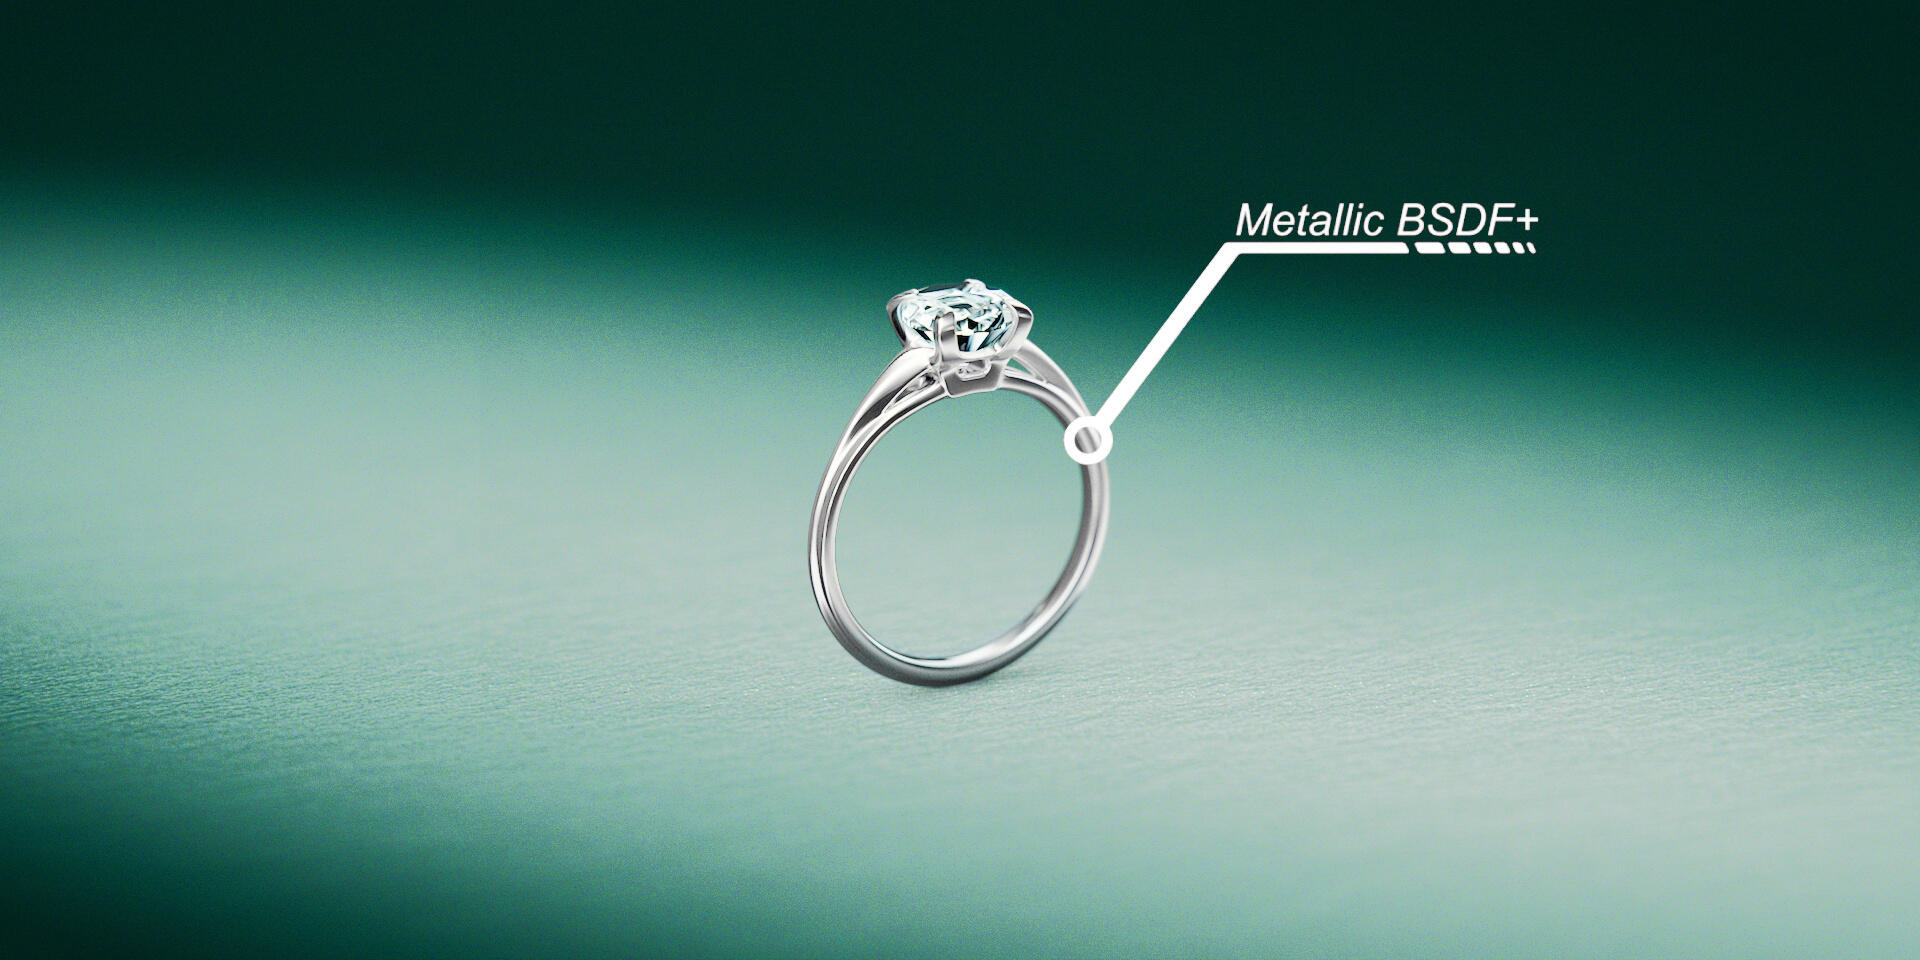
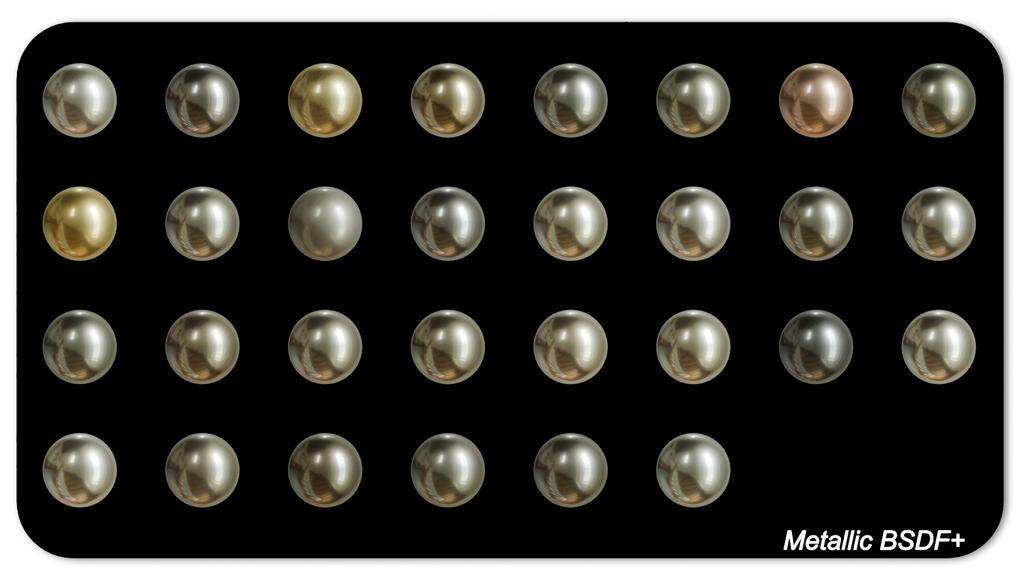
Metallic BSDF+ is a complete rework of the Blender Metallic BSDF node that includes many additional parameters and improvements. These include:- Multi-layer roughness for extremely realistic material roughness and reflections- Fresnel roughness adjustments for enhanced reflections at high glancing angles for even more realism- Physically accurate material presets for most common metals and many common alloys- Metal anodization with voltage inputs for perfect material colorization- Brushed metal surface parameters to replicate brushed metal surfaces with unparalleled fidelity- Scratches and wear for extra detail and options...And much much more.The results of these additions and reworks are better, more physically accurate, and more customizable metallic materials that are easier and faster to create and adjust. And as always, zero AI was used in the creation of this project.
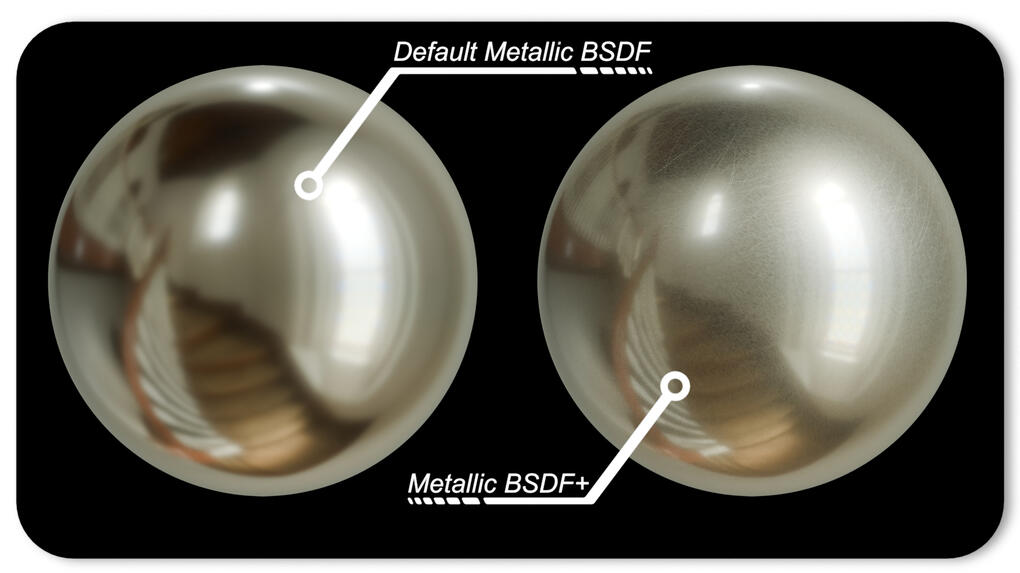
Currently there are 30 material presets encompassing most common metals and some alloys, with more on the way. Each parameter of the node has detailed explanations upon cursor hover defining what the parameter does, and how it does it. All physically based materials use technical data taken directly from research papers and material studies. All sources are cited to make it easier to verify the accuracy of the provided Material Presets, and to make it easier to explore the data and/or create your own material presets. Sources cited can be found at the and of this page.
Installation
To install the material node into Blender, go to Edit → Preferences → Asset Libraries. In this panel click on the plus icon in the upper right. Select "Remote Asset Library" from the given options. Then, paste the following asset link into the text field:
https://savageopress11.github.io/Metallic_BSDF\_Plus/
The material should now appear in the asset library in Blender.
[TIP: If you want the ability to edit the inside of the node group, you must change the import method from "Pack," to "Append" in the asset libraries panel when adding the provided link.]
The Main Node Parameters:
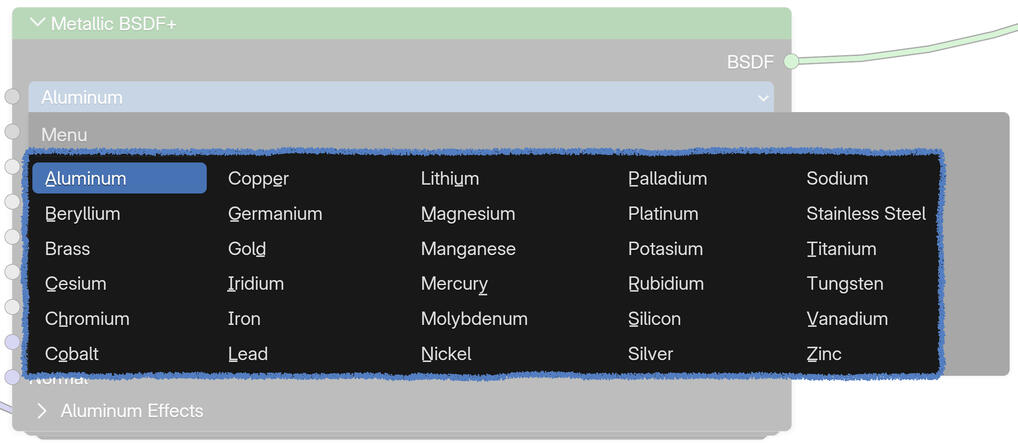
The Metallic BSDF+ node comes with a drop-down menu at the very top for selection between the provided material presets. The node contains thirty material presets as of this version.
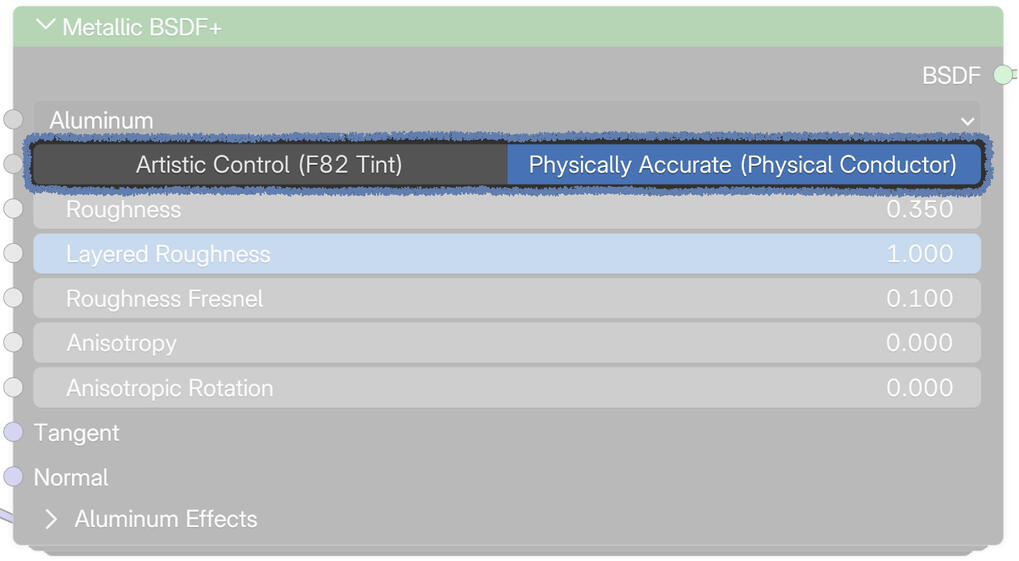
Below this drop down is a choice between two material behaviors. "Artistic control (F82 Tint)," and "Physically Accurate (Physical Conductor)."Physical conductor is the default selection and is set up with the proper physically accurate material parameters (Material IOR and extinction values.) for the selected material preset.
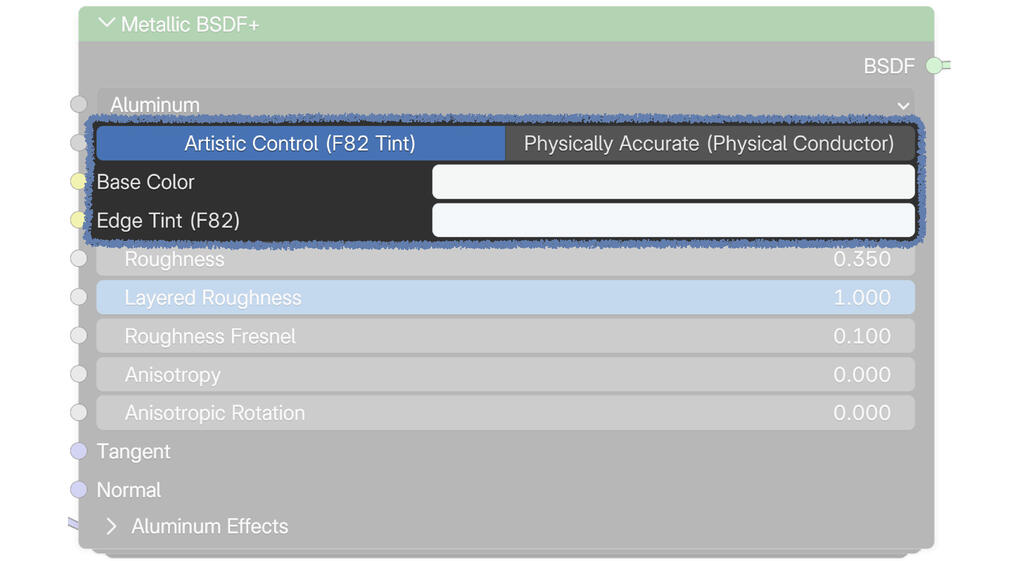
F82 Tint adds two new material parameters directly below it. "Base color," and "Edge Tint (F82)." These parameters by default have accurate colors chosen for the selected material preset. Despite this, using the F82 Tint method will be significantly less physically accurate as compared to the Physical Conductor method. Materials using this method will interact with light differently than their real world counterparts.The benefit to using the F82 Tint method is that it opens up the ability to control color, saturation, and brightness of the selected material for both the base color, and outer edge.
Below this is a parameter to control the overall material roughness.Directly following this is a control for the layered roughness properties of the material. Layered Roughness simulates the many layers of differently scaled "microfacet" imperfections that affect roughness and material reflections in the real world.The native cycles roughness implementation only applies one evenly sized and distributed layer of microfacet roughness, leading to uniform reflectiveness lacking the real world mix of sharp and rough reflections layered on top of each other. This is one of the ways that this material attains realism further than that of the native Blender Principled BSDF and Metallic BSDF nodes.
After these two roughness parameters is parameter to control the Fresnel roughness. This value controls the rate at which surfaces appear more reflective the further parallel the view is in relation to the object surface. as the view reaches a glancing angle to the surface, the surface will appear more reflective.This is not calculated in the native Cycles Principled BSDF nodes but can be very noticeable in the real world.
[WARNING: Variable roughness in this material is experimental. The falloff of this effect can be very sharp and unnatural in some scenarios. Experiment to see how well this parameter works for your specific objects.]Following this is the two anisotropy sliders. Anisotropy elongates highlights based on the objects tangent direction. The Anisotropic rotation value rotates the object tangent direction. These anisotropic controls are unchanged from the default blender anisotropy. [TIP: to change the axis of the tangent rotation, plug a Tangent node directly into the Tangent socket of the Metallic BSDF+ node. This will allow you to specify an X, Y, or Z axis.]
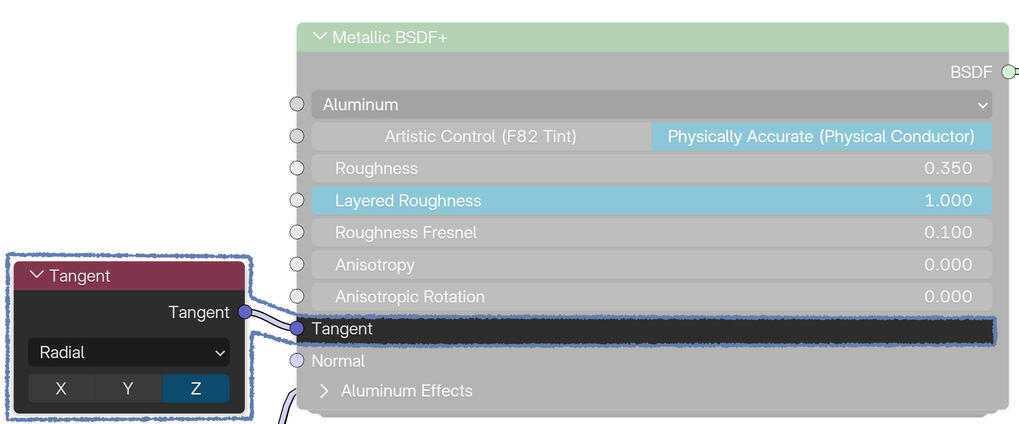
After the tangent input is the Normal input. The Normal input allows for a bump or normal map, the same as the default blender Metallic BSDF. This is unchanged from the default Blender normal input.
Directly beneath the normal input is the Custom effects drop-down menu. This menu contains the brushed metal, dense scratches, sparse scratches, annodization, and color dispersion/discoloration menus. More of these menus and effects are planned for the future.
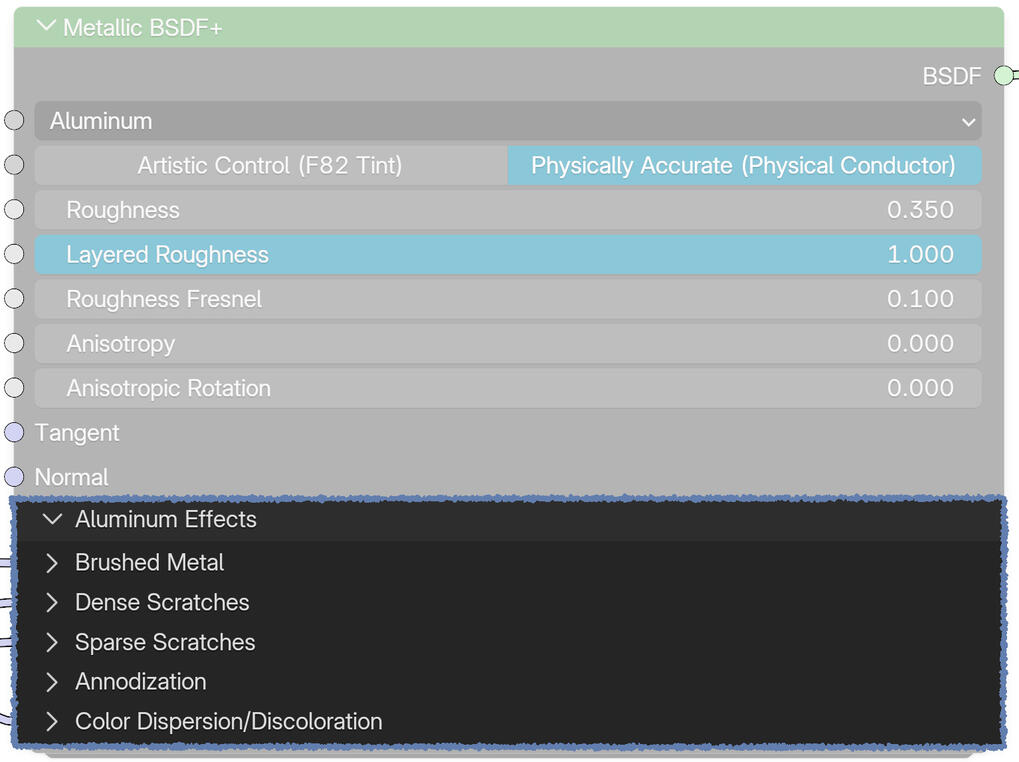
[IMPORTANT: You MUST input a texture coordinate (Add a texture coordinate node) into the vector input of any custom effect to use it. If you do not, it will not be mapped correctly, and therefore will not appear.]
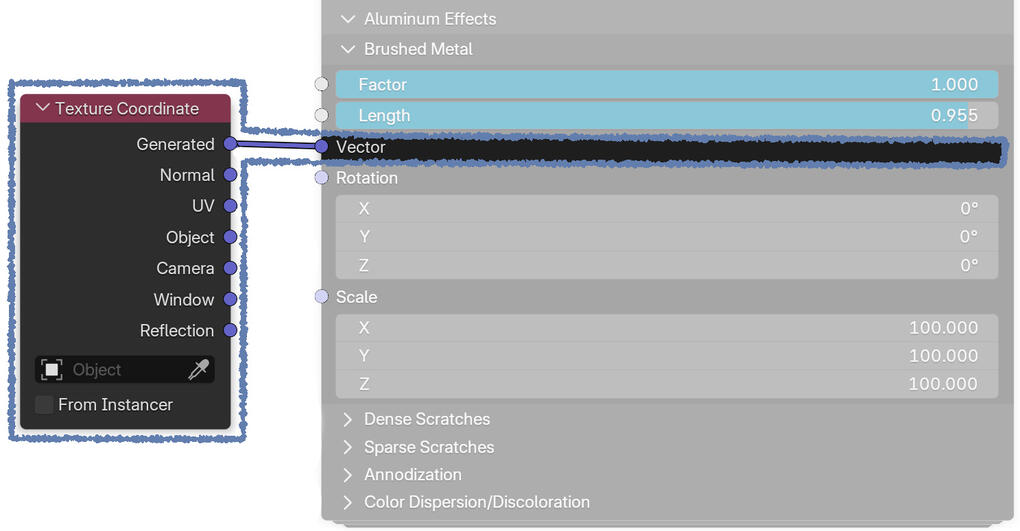
The brushed metal panel has a factor to control the intensity of the brushed metal effect. Directly below this is an option to adjust the length of the brushed metal. This scales the brushed metal along the object length vector. [TIP: If you do not want the brushed metal to be scaled along the length vector and instead in a specific direction, disable the length vector by setting the length factor to zero. Then, adjust the scale/rotation manually using the specific X, Y, and Z rotation/scale options found below]
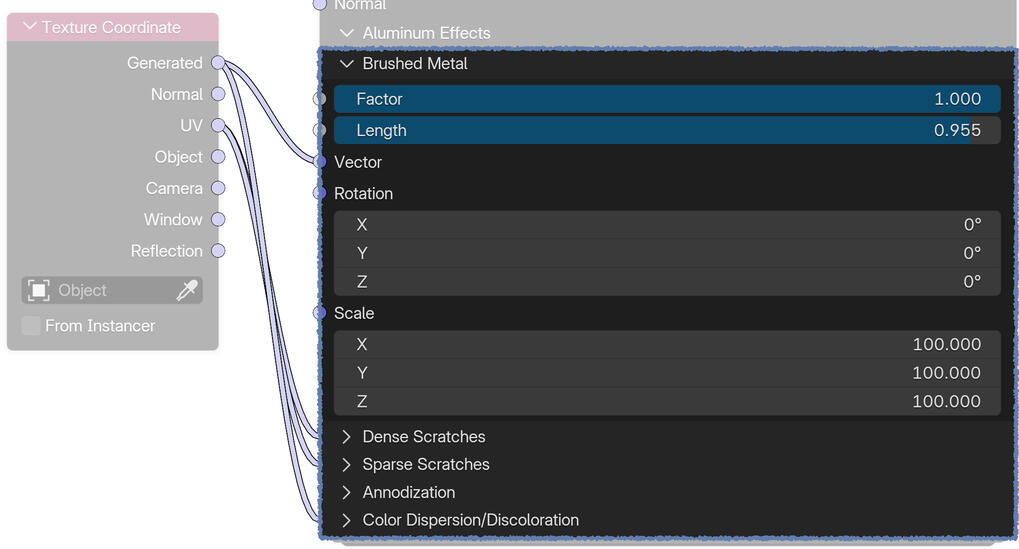
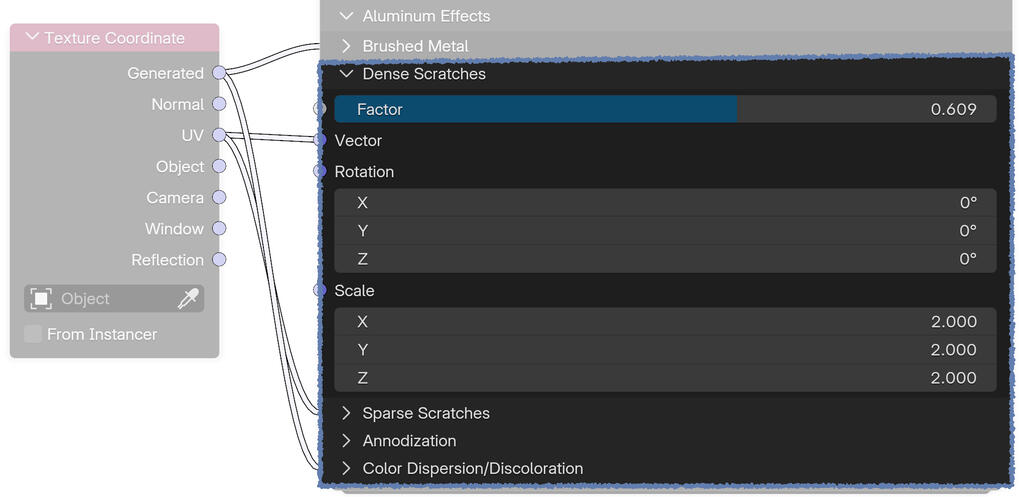
Directly below the brushed metal panel is both the dense scratches and the sparse scratches panels. These panels have identical options. As with the brushed metal panel, the first option is a factor to control the intensity of the scratches effect. Directly below this is the rotation and scale options for the X,Y, and Z axis. Remember, texture coordinates are required to use these effects.
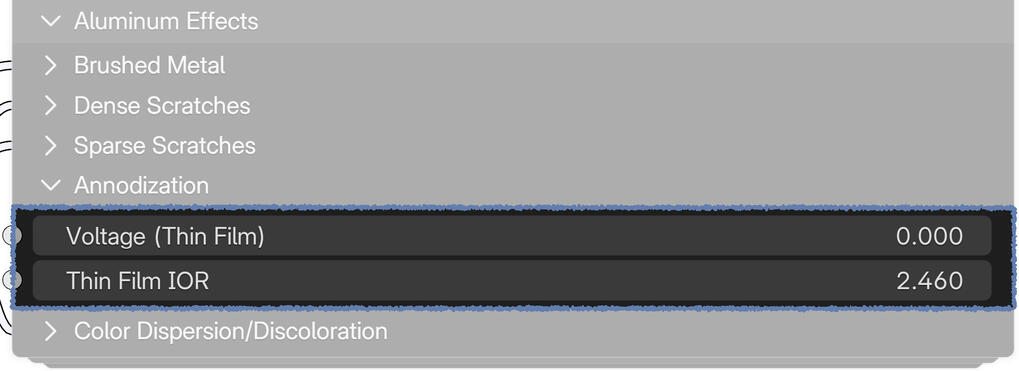
Directly Following is the annodization panel. In the real world, specific voltages and solutions are used in manufacturing annodization processes to tint metals specific colors.For example, 146-152 volts at the estimated rate of 1.62 nanometers of annodization per volt equates to a rose gold color. [TIP: Annodization voltage color charts are readily available online.] The annodization calculates the thickness of the annodization layer using the input voltage, type 2 annodization, and a baseline value of of 1.620 volts per nanometer. (0.0 means no material annodization).The base IOR value is appropriate for many metals, but can be changed for artistic liberty or if a more accurate value for the selected metal is known.
Lastly is the color dispersion/discoloration panel. This has the same options as the Brushed metal panel, [See above] except it adjusts small discolorations across the metal surface.
Credits, Main Resources, and Data Sources:
MAIN PROJECT RESOURCES:LucasPrismal. (2026, July 20). Forgotten metal knowledge | vray, cycles, Arnold. [Video]. YouTube. https://www.youtube.com/watch?v=uz8PIi3ELJg
Information on layered roughness, what it is, and how to implement it, released by LucasPrismal. Very pivotal in the creation of this project, and is the main source of information for this material.Christopher 3D. (2025, November 22). How to determine specific anodized metallic colors in Blender 5.0. [Video]. YouTube. https://www.youtube.com/watch?v=K5okG0feNyQ
Informational video by Christopher 3D explaining material annodization in Blender and how to convert thin film to voltage.Christopher 3D. (2025, January 22). Variable roughness: The key to more believable materials using layer weight. [Video]. YouTube. https://www.youtube.com/watch?v=PwhACBSOsyU
Informational video by Christopher 3D explaining variable roughness and how to implement it in Blender. Very pivotal in this project.All scratch maps used in this material were generated with an after Effects plugin created by LucasPrismal, and can be found in the description of this video here: https://youtu.be/kWhBrvPHGvUADDITIONAL DATA SOURCES:Palmqvist, A. (2026) Physically Based - The PBR Values Database Available at: https://physicallybased.info/ (Accessed: 18 July 2026).Portsmouth, J., KUTZ, P., & HILL, S. (2026). OpenPBR: Novel Features and Implementation Details. Physically Based Shading in Theory and Practice, pg, 67. https://arxiv.org/pdf/2512.23696#appendix.DM. N. Polyanskiy, "Refractive index database," https://refractiveindex.info. Accessed on 2026-07-18.